

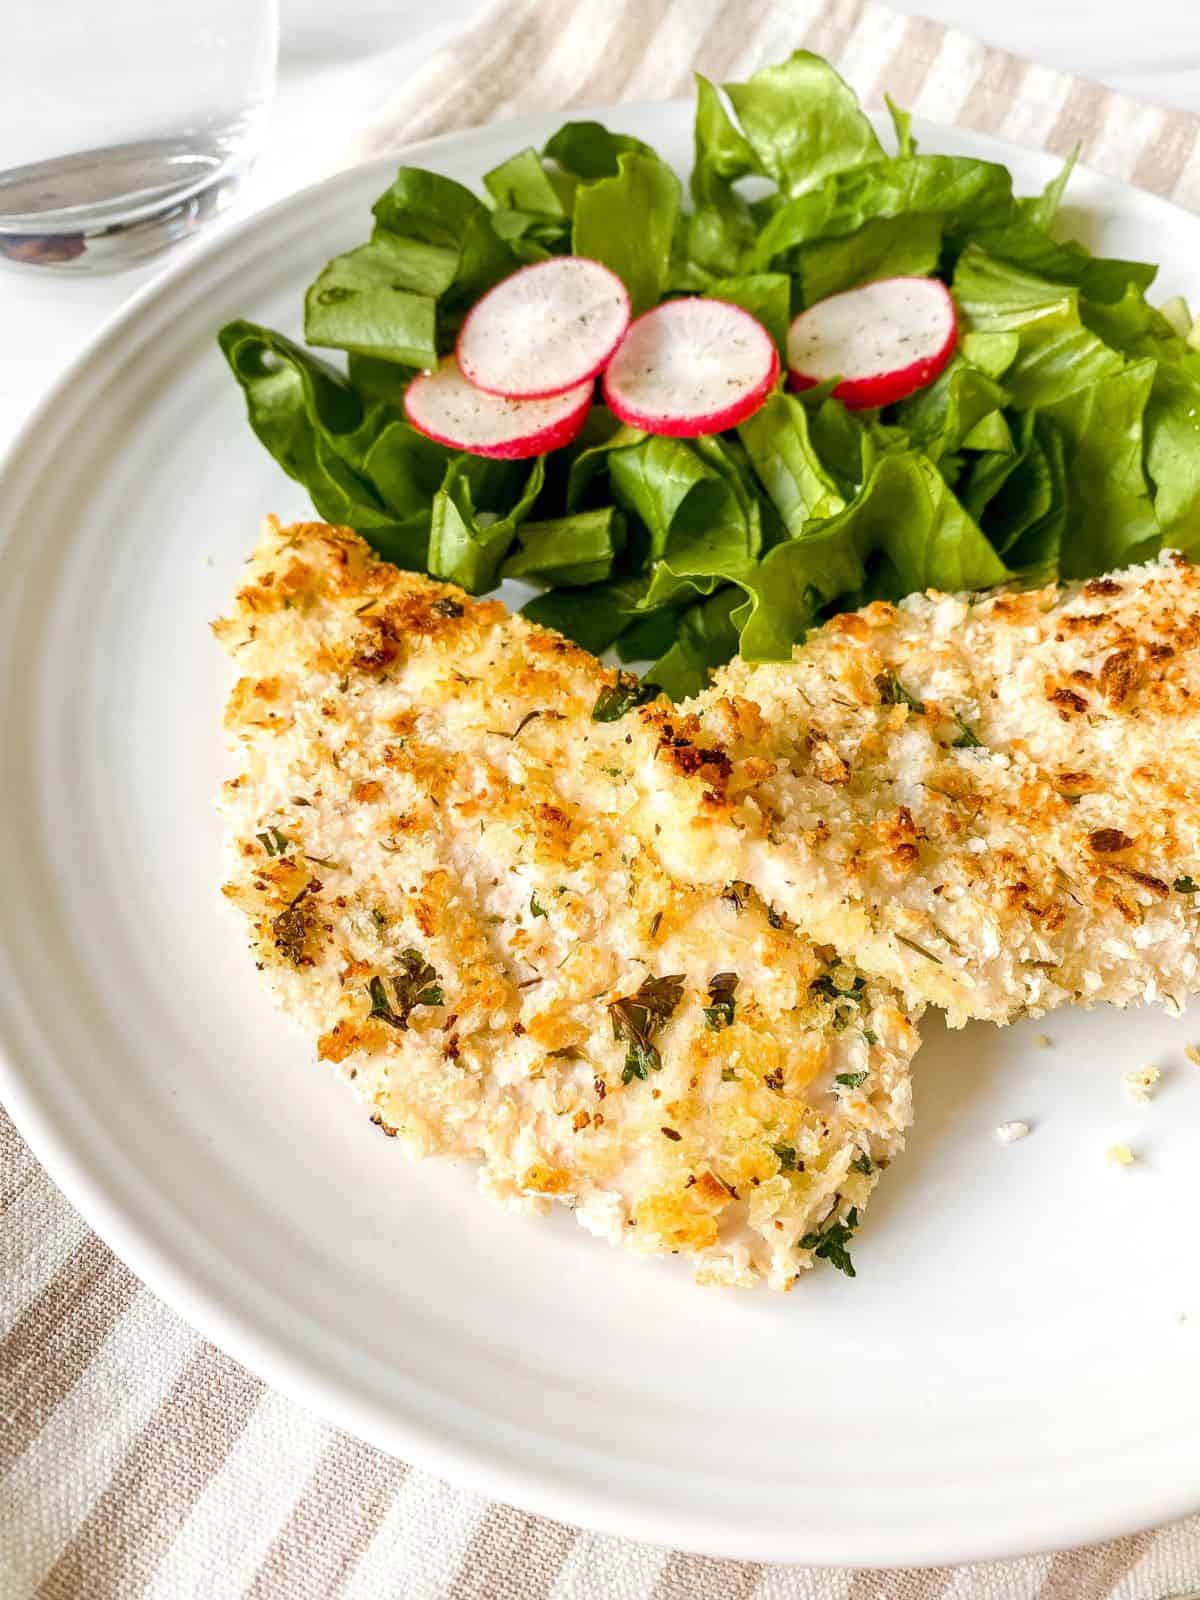
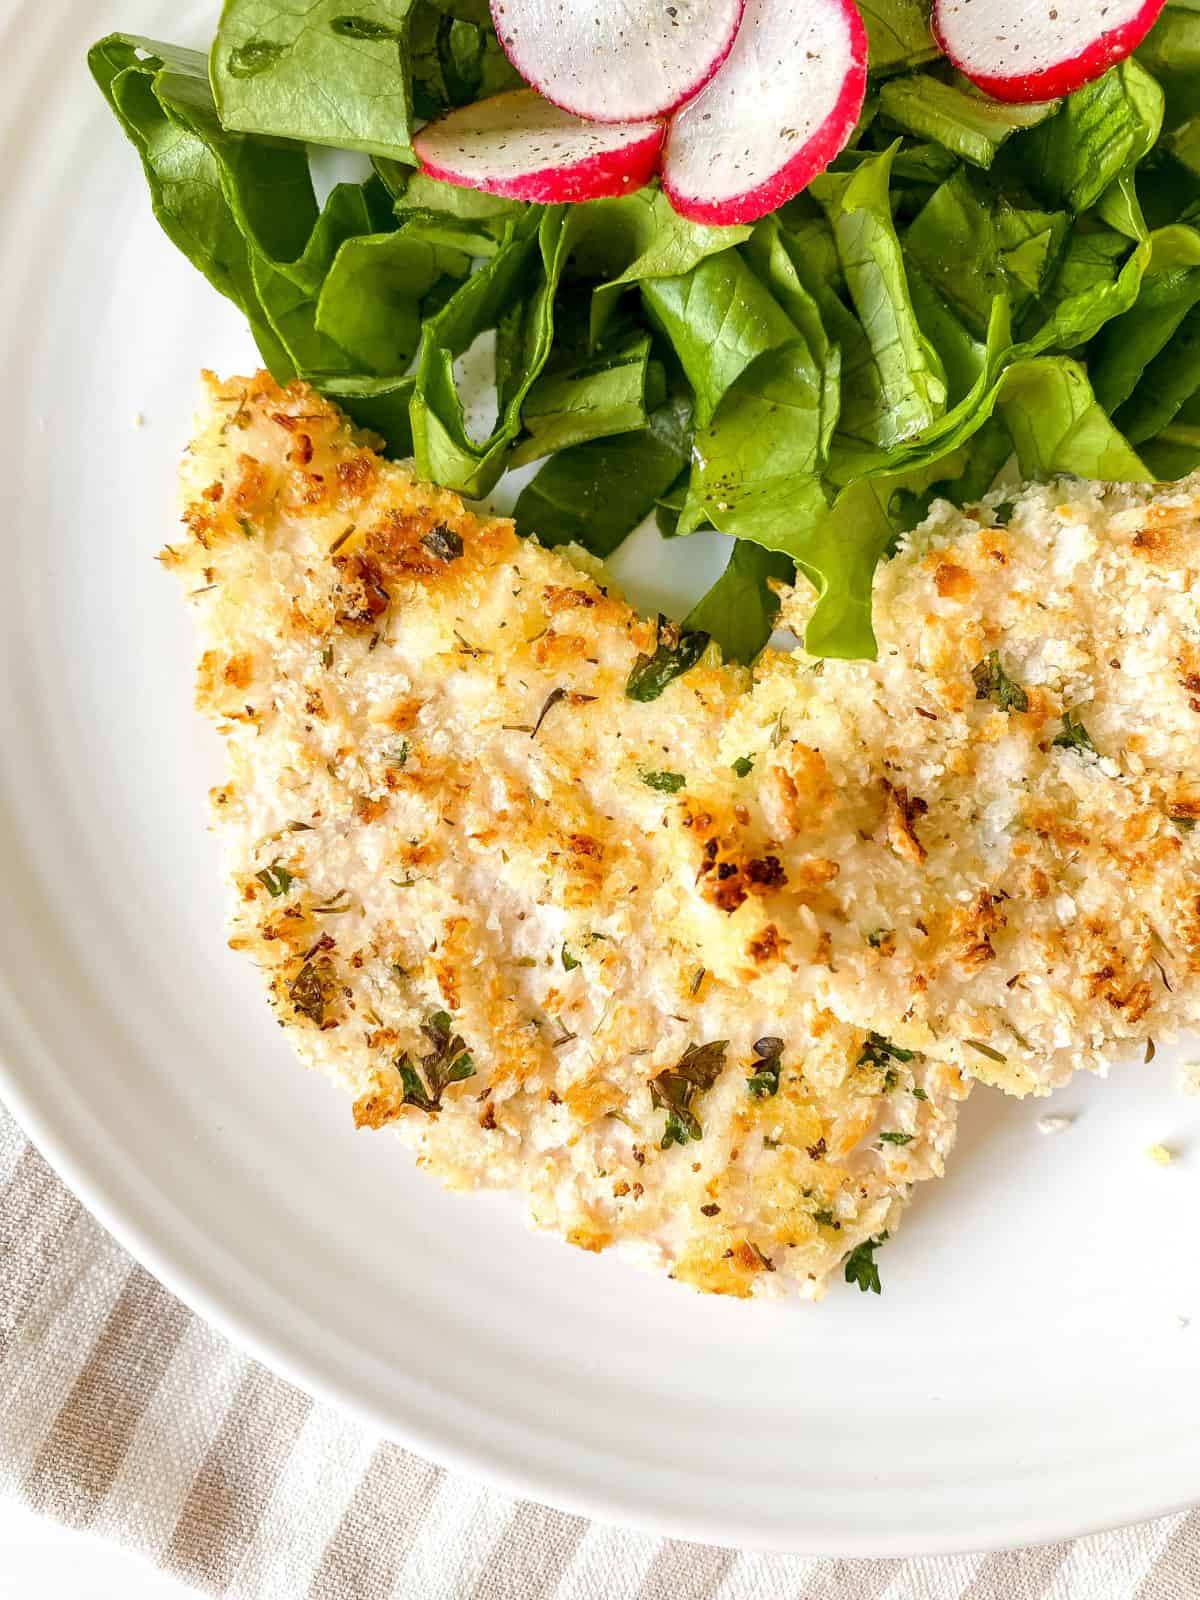
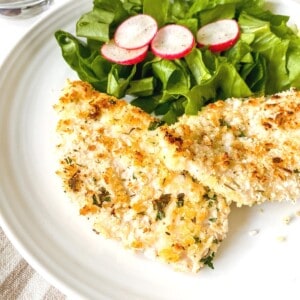
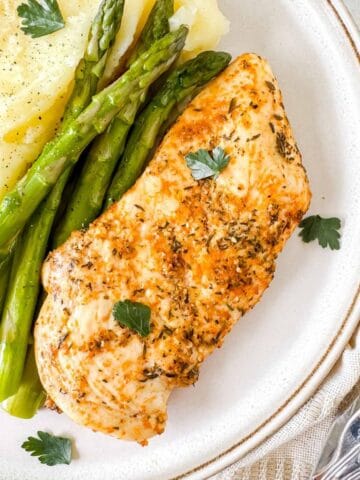
This easy panko chicken is coated with a flavourful breading giving the best crispy texture! A quick and easy pan-fried chicken recipe that comes together in 20 minutes.
Chicken recipes are always a go-to family dinner, and quick and easy ones are particularly good on a busy weeknight! For more simple but delicious recipes you may like to see my pan fried rosemary chicken fillets and my chicken with pesto traybake. Perfect family dinner ideas!
This panko breaded chicken is full of flavour from the herb and garlic panko crust, and is so simple to do. Pair with salads, mashed potatoes or vegetables for a hearty meal everyone will love!
Jump to:
⭐ Why this recipe is so good
Crispy comfort food chicken. The panko gives you the best crispy coating, and it's so simple to do!
Minimal ingredients. We need mostly pantry staples, and just a few of them for the recipe.
Versatile. Serve with hot or cold sides, depending on what you fancy!
🐓 Ingredients
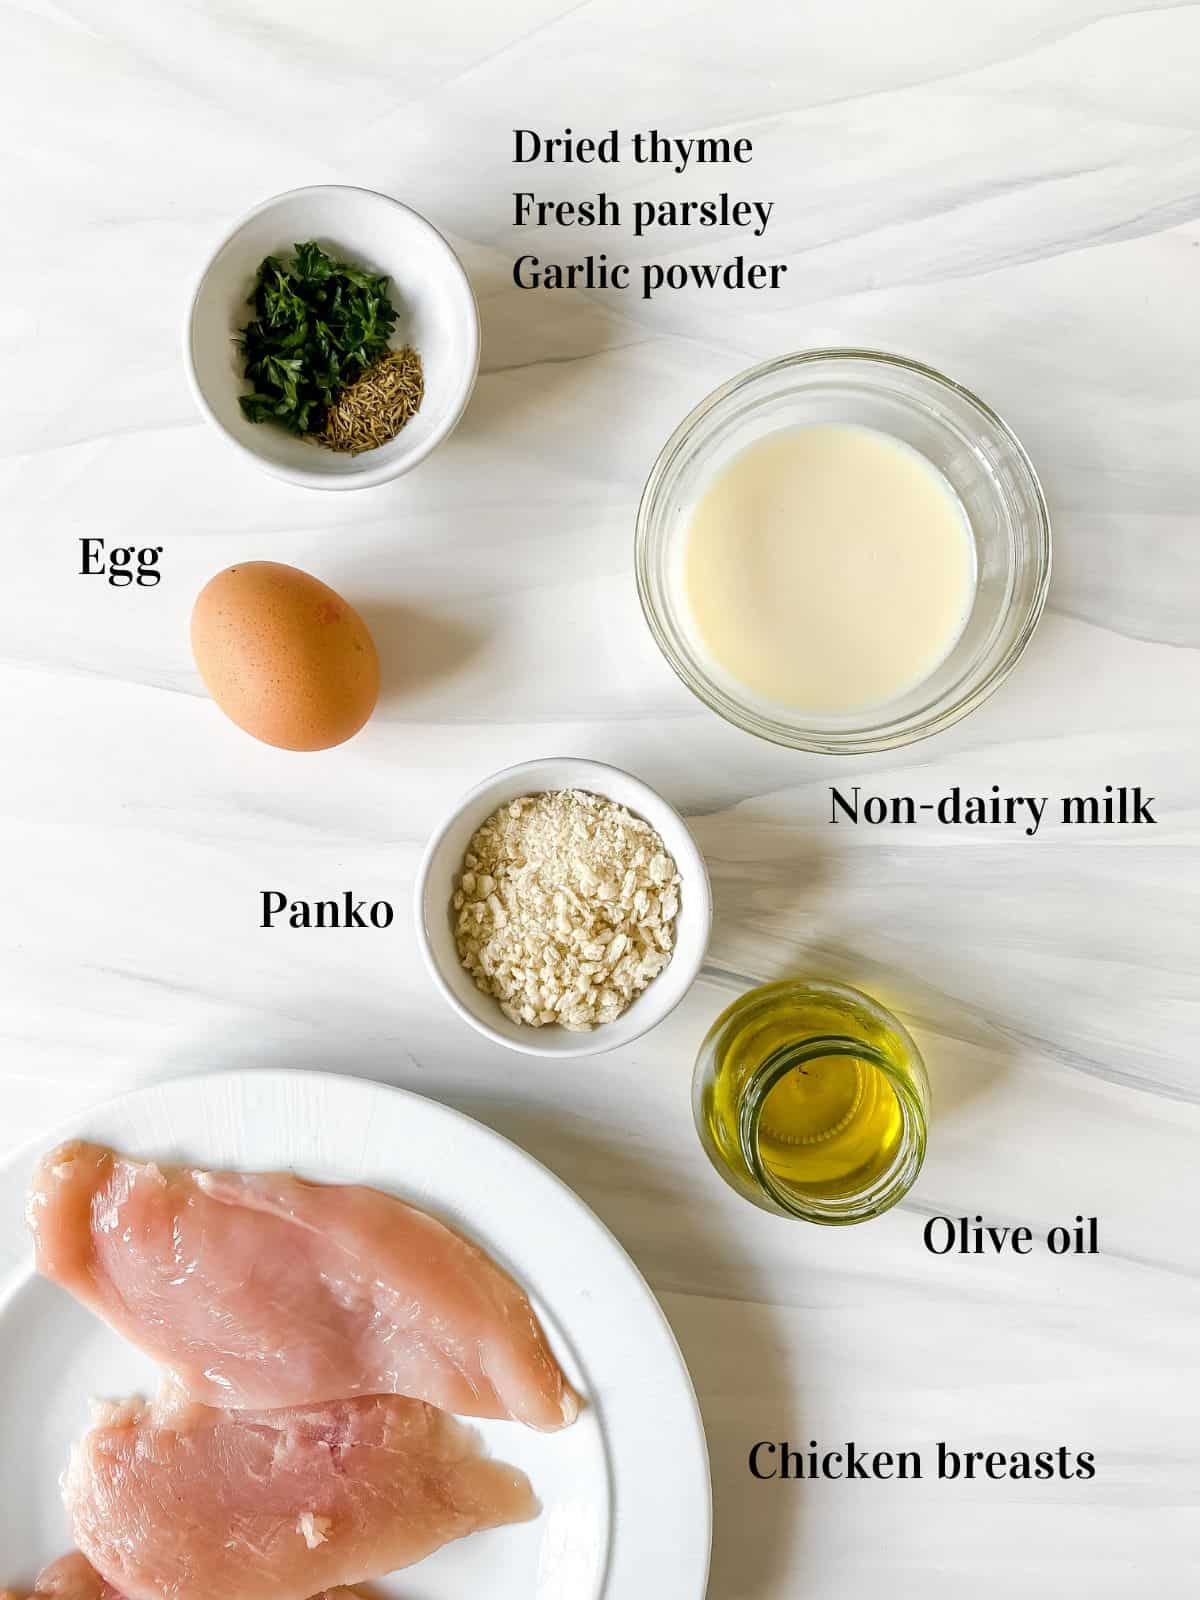
All the ingredients and their quantities are set out in the recipe card below.
A few notes on some of them:
- Chicken breast - you can use chicken that you slice yourself and then thin with a meat mallet, or purchase already thin sliced breasts.
- Panko - the main ingredient for the coating. I suggest checking ingredients if you have any food sensitivities.
📖 Swaps and variations
Coat with panko to preference. Personally I prefer a lighter coating, but you can always add more panko as your breading to preference.
Use egg yolk and white. I use only egg yolk in this recipe so that is suitable for my low histamine readers, but you can use the egg white also if it is suitable for you.
Change up the herbs. I like to use dried thyme and fresh parsley, but you can use the herb you like the best!
🥣 Equipment needed
- Skillet - to fry the chicken.
- Two bowls - for the egg and panko dredges. Use bowls that are large enough to hold a chicken breast.
- Whisk - to combine the egg and milk.
- Meat mallet - to flatten the chicken. A wooden spoon can also be used.
- Tongs - to transfer the chicken and turn in the skillet.
🔪 Step by step instructions
Although this may look like a lot of steps, they are all quick and easy to do!
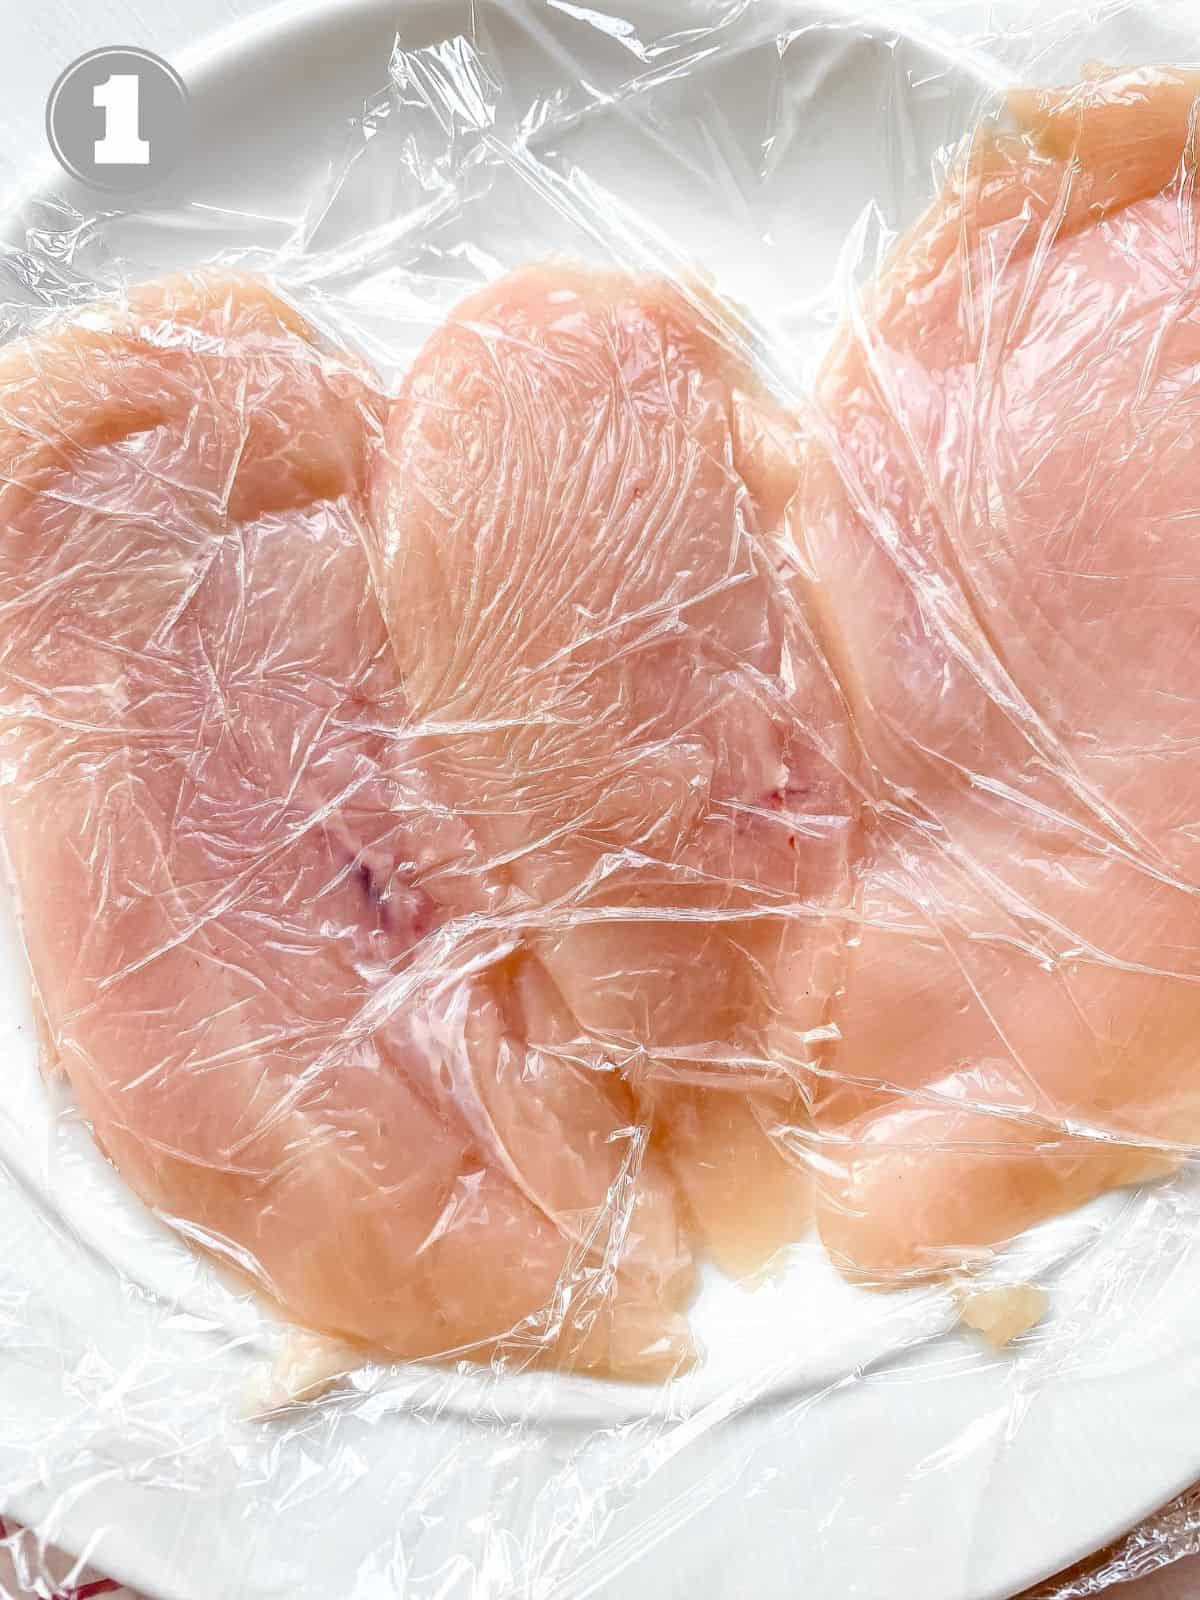
Step 1
Slice the chicken breasts horizontally. Depending upon the size of the chicken, you would want to slice into two or even three pieces. Cover in film, then use a meat mallet or wooden spoon to flatten the chicken breasts (image 1).
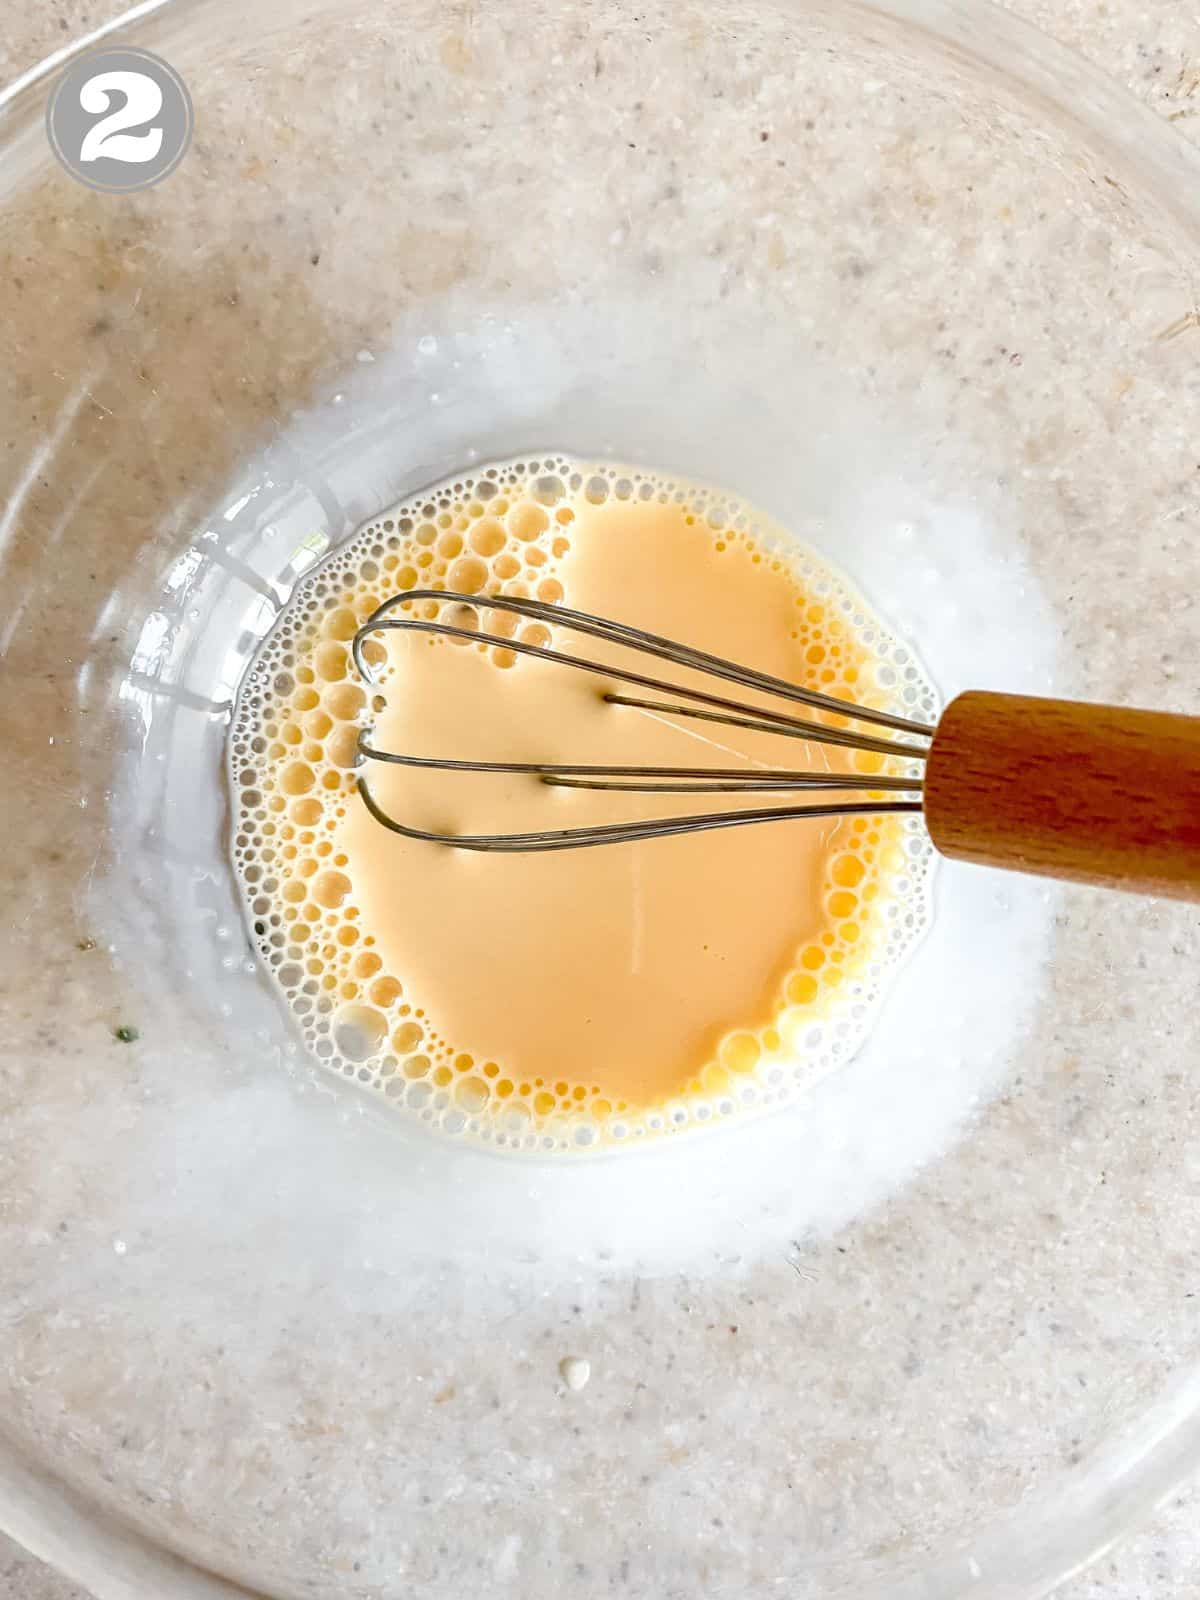
Step 2
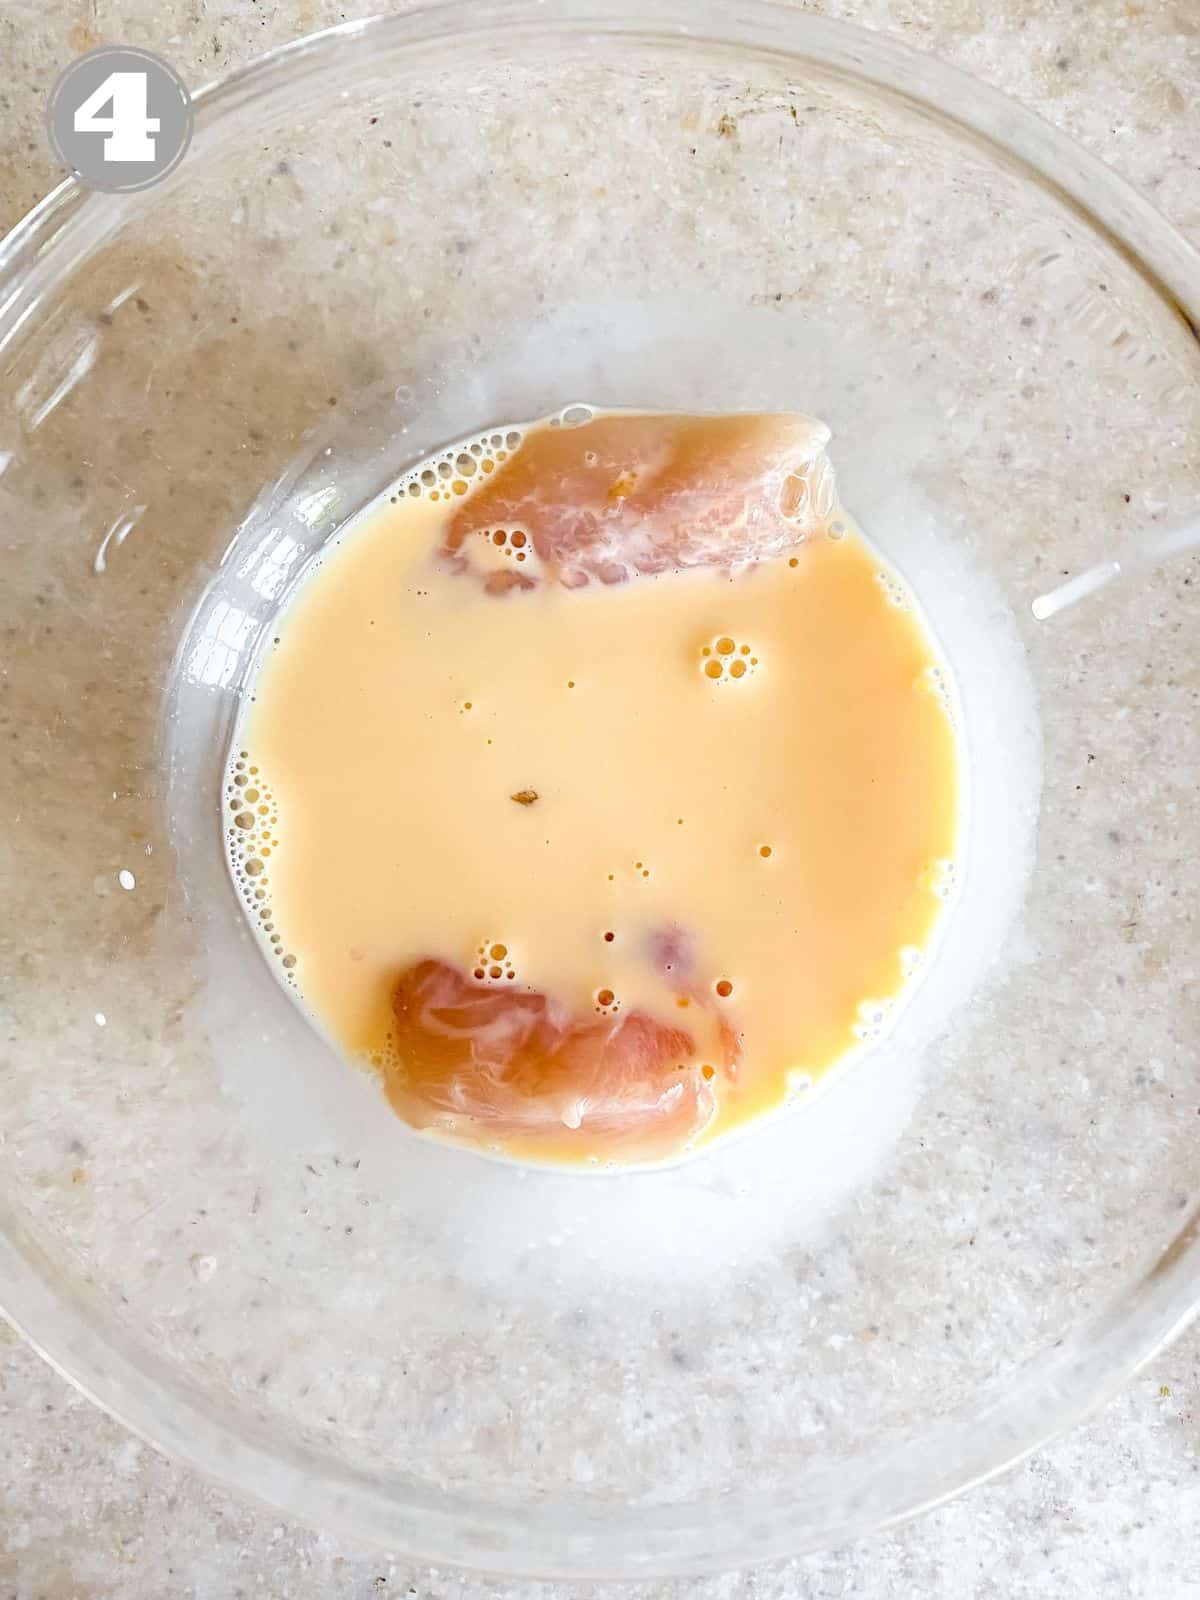
Whisk together the egg yolk and non-dairy milk in a bowl (image 2).
Step 3
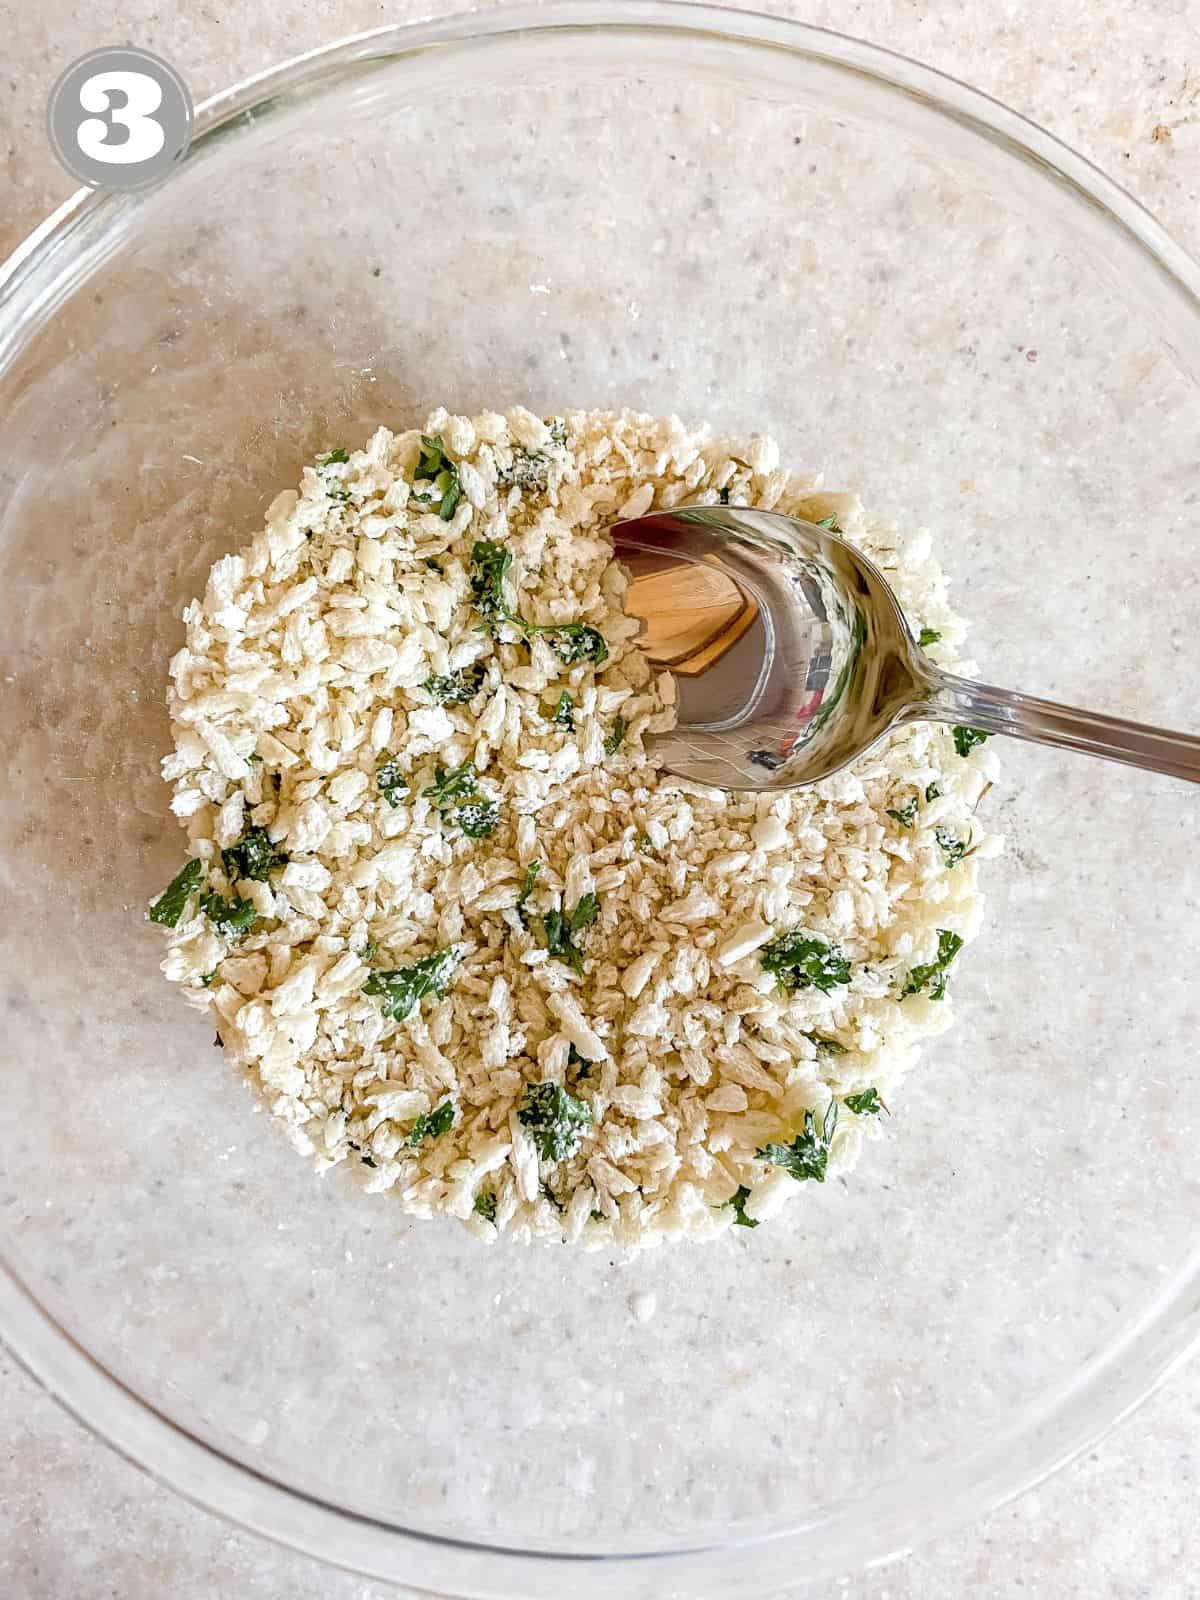
Combine the panko, herbs, garlic powder, salt and black pepper together in a bowl and stir to mix (image 3).
Step 4
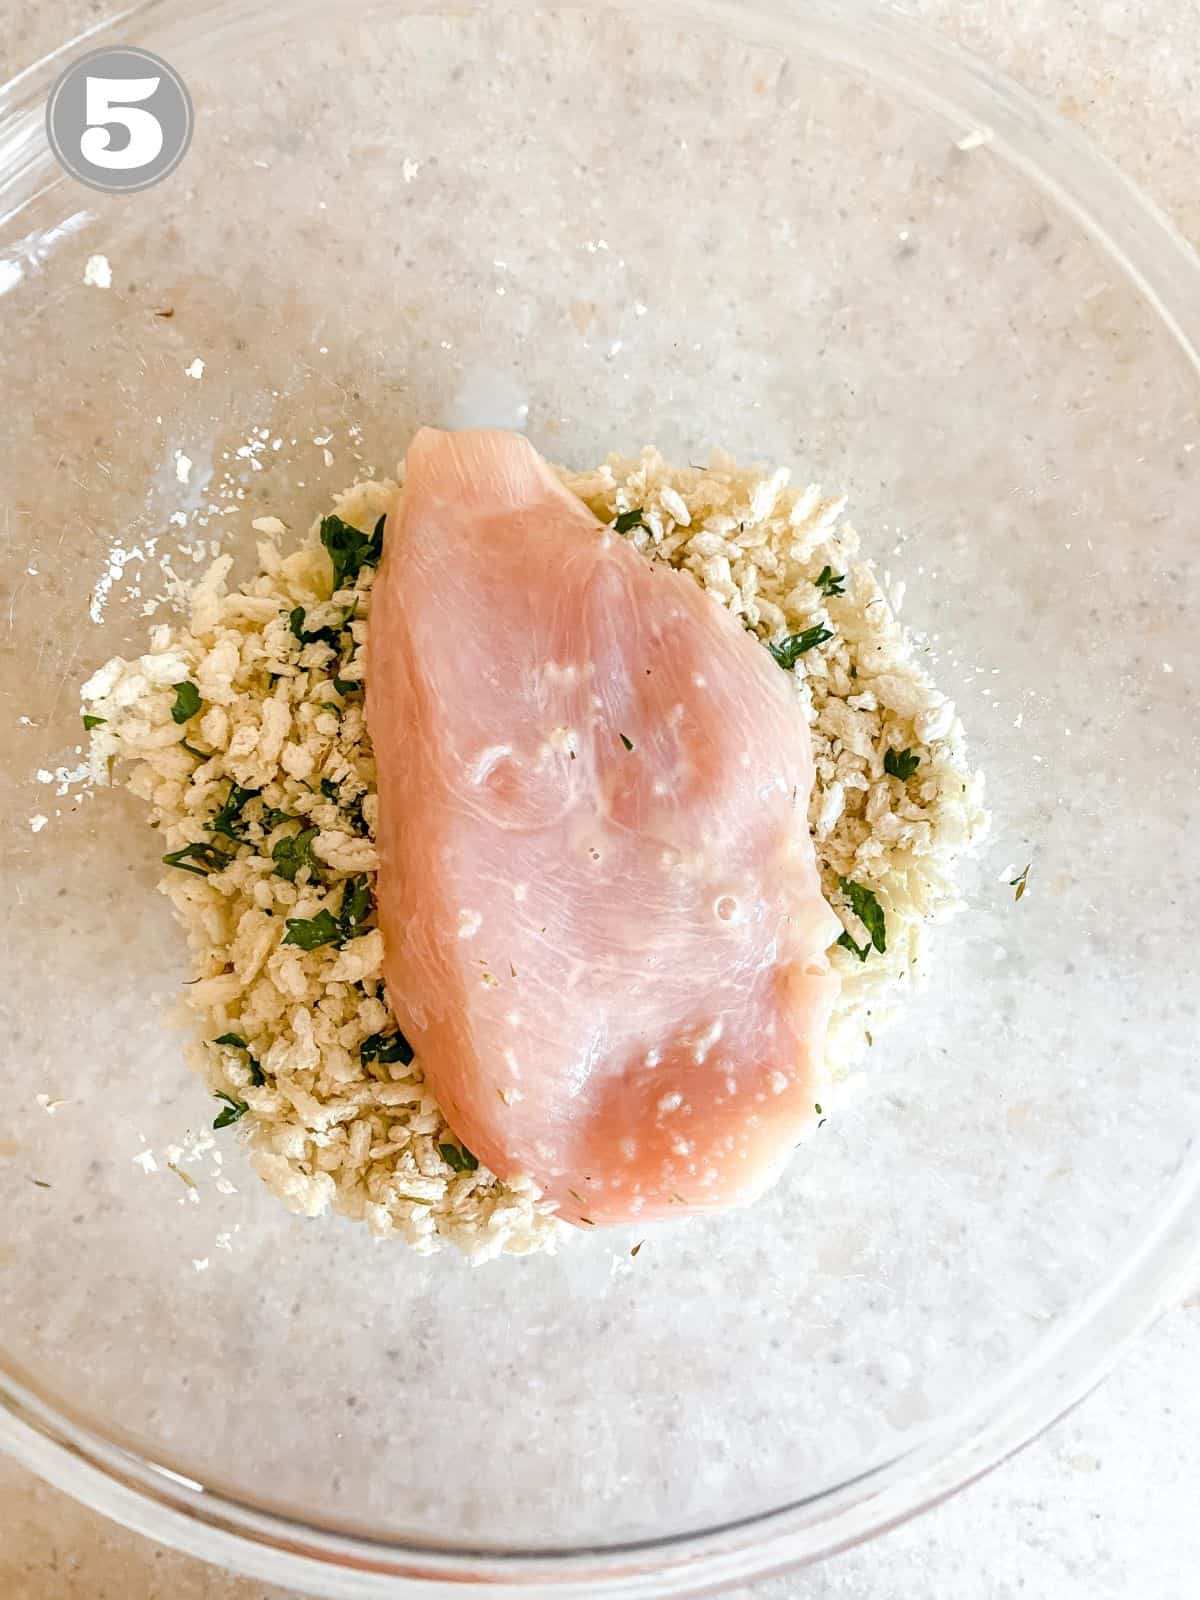
Dip your chicken breasts in the egg mixture, letting the majority run off the chicken (image 4).
Step 5
Place the chicken breasts in the panko and toss to coat. Lightly press the panko onto the chicken, to the quantity you prefer (image 5).
Step 6
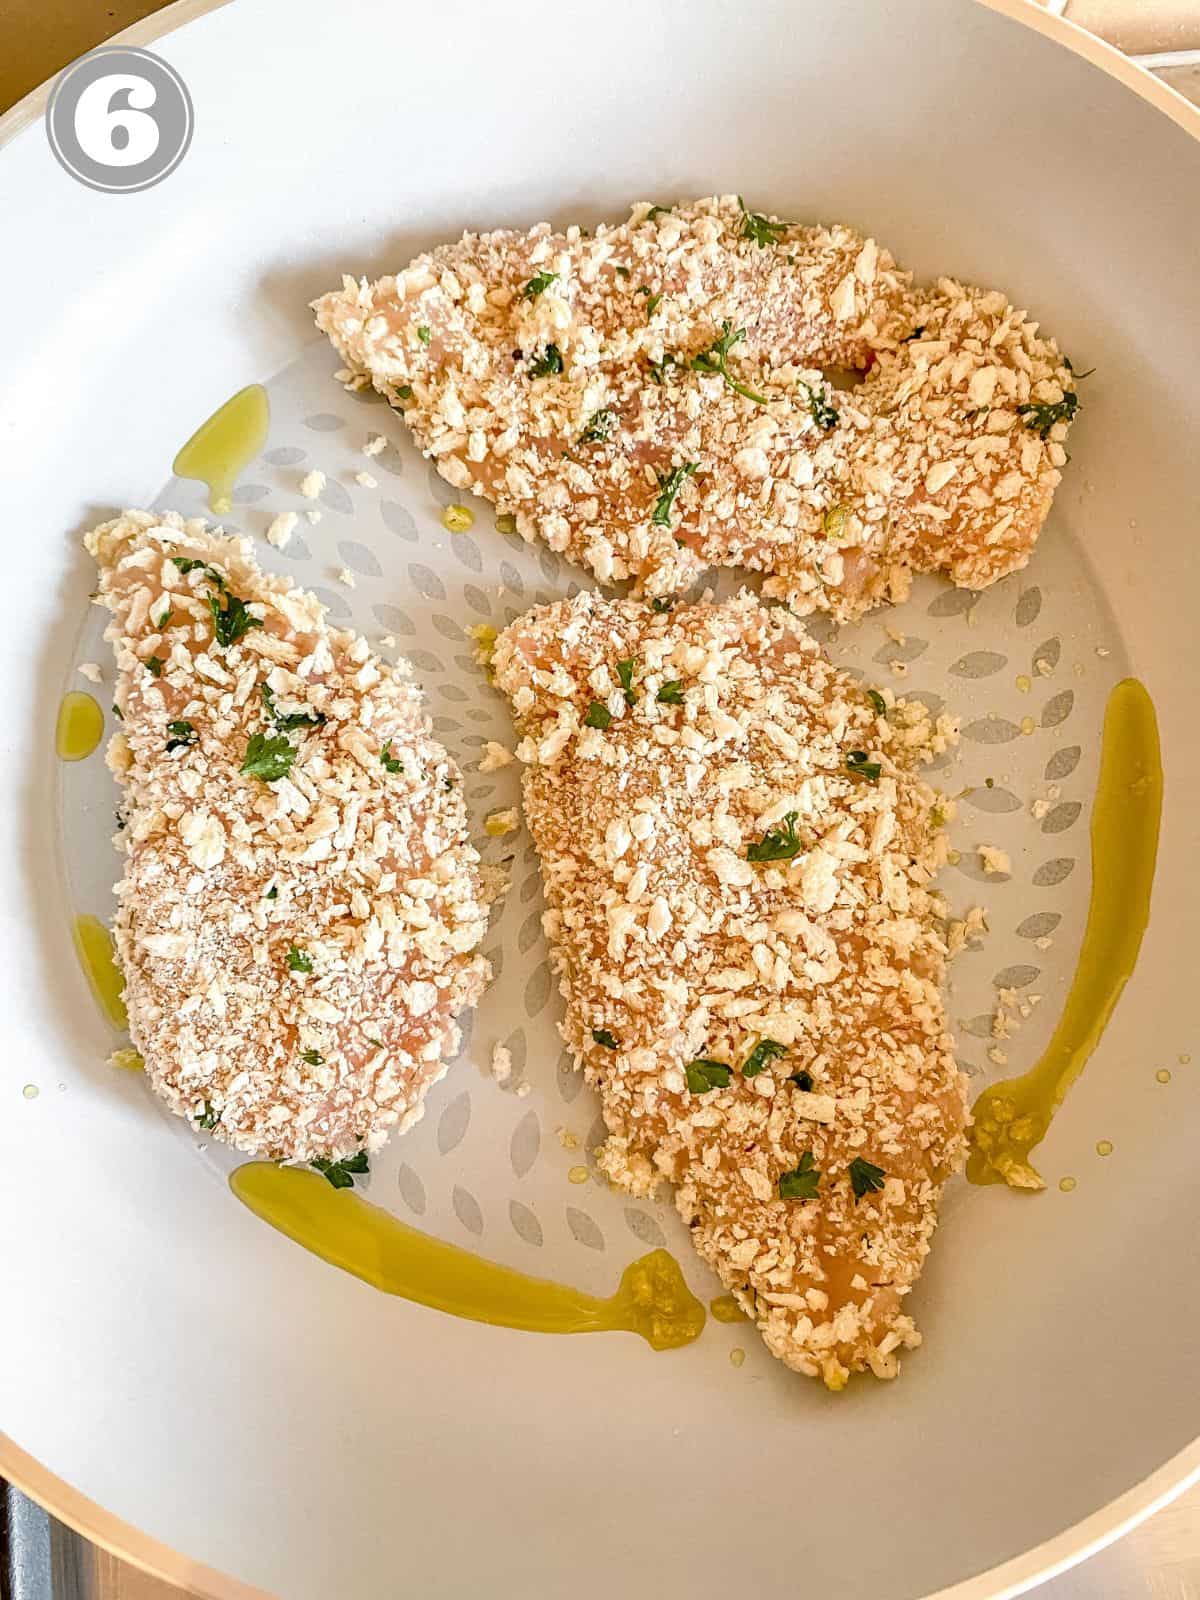
Drizzle olive oil in your skillet, and use tongs to place the panko coated chicken (image 6). On a medium heat, fry the chicken for 3-4 minutes each side, or until they reach an internal temperature of 165F. The cook time will vary slightly depending upon the thickness of the chicken.
💭 Recipe tips and notes
- Slice chicken breasts horizontally into thin pieces. Using a whole chicken breast wouldn't work too well as you would likely get burnt panko in the time it took to cook through the chicken. Slice and then thin with a meat mallet.
- Keep the egg and panko bowls separate. Be sure not to combine them or end up with a lot of egg in your panko or vice-versa!
- Adjust the amount of herbs to taste. Season the panko with as much or little as you like!
- Keep an eye on the chicken when frying. We want nicely browned, but not burnt so adjust the temperature as needed, and flip to cook both sides.
📋 Frequently asked questions
This is to preference. Personally I don't like a thick crust, but you can always have more if you like!
No, you can leave out the herbs if you prefer the panko without them.
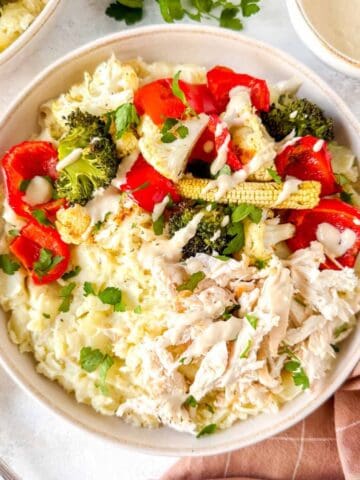
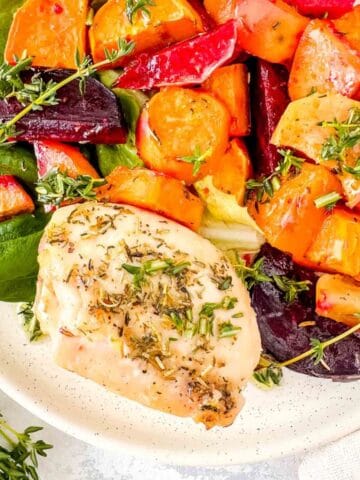
I like to serve the chicken with salads such as my kale wild rice salad, but you can also serve with mashed potatoes such as my potato cauliflower mash or with rice, couscous and vegetables.
🍽 More delicious chicken recipes
Find so many tasty chicken recipes here, including my popular blueberry chicken and nectarine chicken for fruity options and my lemon balm chicken for a fragrant herby dish! Some recent recipes to try out:
I'm always in the kitchen, so come join me on Instagram, Facebook and Pinterest to be the first to hear of new recipes! And please do leave a star rating if you have tried the recipe!
📖 Recipe
Easy Panko Chicken
Ingredients
- 2 chicken breasts
- 1 tablespoon olive oil
- 1 egg yolk
- ½ cup milk dairy or non-dairy
- 1 cup panko
- ½ teaspoon dried thyme
- 1 tablespoon fresh parsley finely diced
- ½ teaspoon garlic powder adjust amount to taste
- pinch salt
- pinch black pepper
Instructions
- Slice your chicken breasts horizontally, as though you were going to butterfly them, but slice all the way through. Season with salt and black pepper. Place on a board or plate and cover with film. Use a meat mallet or wooden spoon to flatten.
- Whisk the egg yolk and milk together in a bowl.
- Combine the panko, herbs, garlic powder, salt and black pepper together in another bowl.
- Dip the chicken into the egg yolk mixture, allow the majority to drip off, then place in the bowl with panko. Toss the chicken in the panko and press lightly so it is covered.
- Drizzle olive oil in your skillet and use tongs to place the chicken. Fry for 3-4 minutes each side, making sure they come to an internal temperature of 165F. Cook time will vary depending upon the size and thickness of the chicken breasts.
Notes
- Be sure to slice the chicken horizontally and then flatten with a meat mallet so you have thin fillets.
- Adjust the amount of panko coating to taste preference.
- If you can tolerate egg white this can be included in the egg dip also.
- Keep the bowls of egg dip and panko dip separate and dip each piece of chicken individually so you don't end up with egg in your panko or vice-versa!
- Please note that nutritional information is offered as a courtesy. It is auto-generated and should be understood to be an estimate not a guarantee.
- Panko (wheat), which scores 1 with a ? as a liberator.
- Garlic, which scores 1.
- Black pepper, which scores 2.

Daphne says
I don’t usually eat seafood but cod has been a great replacement for tilapia for me. I probably would have cooked it longer to get more of a flake but the panko was really good flavor added!
Claire says
Panko is so flavorful isn't it. Perfect as an easy coating for fish or chicken I find!